This will show how to create a wireless WIFI serial port. This is accomplished by flashing esp-link onto an ESP8266 and using a level shifter to convert 3.3V signals on the ESP8266 to computer levels.
Parts Needed:
- nodemcu amica R2
- RS-232 Level shifter using a MAX3232 Available from ebay by searching “MAX3232 converter” make sure you get one with four pins like this photo:

- PCB

- Micro USB cable
- Micro USB 5V power supply for ESP8266
- Windows PC
- Optional RS-232 Loopback
- Optional RS-232 DB9 gender changer
Flashing the nodemcu amica:
- Get the latest esp-link firmware from https://github.com/jeelabs/esp-link/releases
- Download the Nodemcu flashing software at https://github.com/nodemcu/nodemcu-flasher/archive/master.zip
- Connect the nodemcu amica to the computer using a USB Cable
- Setup the Nodemcu flashing software to flash the correct firmware files at the correct memory addresses See https://github.com/jeelabs/esp-link/blob/master/FLASHING.md for details:

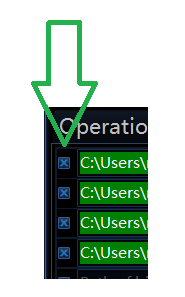
- Make sure that the checkbox is checked for all the files. It appears to not flash the file if it is unchecked:
Now you should be able to hit the flash button:

Setting up the esp-link software:
- On a computer look for an open wifi hotspot with a name like ESP_[??????] and connect to it.
- In a web browser navigate to http://192.168.4.1/
- On the right hand side of the website click on the Wifi Soft-AP and configure your SSID and add a password if you want. Note you will have to re-connect to the device if you change the SSID or password.


- On the home tab configure the GPIO using the presets drop down choose the ESP-12 swapped option:

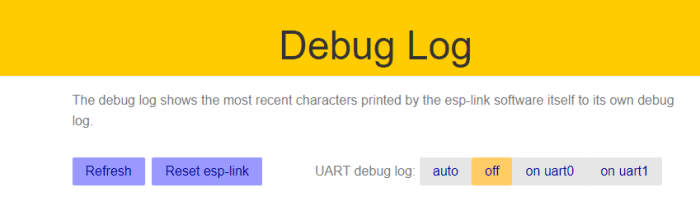
- On the debug log tab turn off debugging since it will echo on the serial port:
Hardware
The PCB connecting the ESP8266 and the level shiftier will need to be soldered as shown in this photo:

If you are unsure of the orientation make sure that the VCC and Grounds of the ESP8266 module are connected to the respective VCC and GND pins on the level shifter.
Testing and Use
The esp-link software has a built in serial terminal that works OK for a quick test. It is located on the uC Console tab. A quick way to test if everything is working is to use a loopback. The loopback can be as simple as connecting pins 2 and 3 of the dsub on the level shifter together. When the loopback is attached anything typed should be echoed in the console. When it is disconnected no echoing should occur.


The serial port can also be accessed using telnet. This can be done using a telnet client like PUTTY http://www.putty.org/
Connect to the device 192.168.4.1 on port 23 using telnet
