While browsing the local E-waste recycler I came across this a Sayno PLC-100N projector with what appeared to be a burned out bulb. The projector was on sale so I figured it was worth a shot on getting it up and running.


After taking the projector home and powering it up the projector emitted a strong electrical burning smell with the bulb connected. After a quick search the cheapest replacement bulb for this projector was around $100. This seemed steep for something that may or may not work. My initial thought was to use a large 100 watt LED that I have experimented with in the past. This would be significantly cheaper than the replacement bulb and hopefully have a longer life span and run cooler.
After some initial diagnosis, with the bulb removed, the projector would briefly power up then shut down. My initial guess was the projector was sensing the lack of a bulb. After examining the bulb power supply it had three pairs or wire going to/from it. The black and white wire were power and the white wires connected to the bulb. The pair of pink wires went to an optocoupler in the supply for isolation. After some careful probing it was determined that disconnecting the pink wire harness from the main board tricked the projector into thinking the bulb was OK. Since the bulb power supply was no longer needed the black and white power leads were disconnected to permanently power the bulb supply off. The supply could be physically removed but it is used as a mounting point to secure the outer case so it was left in tact.
 .
. 
Now that the projector was working it was time to modify it to accept a new LED based bulb. After some light metal work the LED and a heat sink were attached to the bulb bracket. This allows the LED to be removed if I need to service it in the future. The old bulb is shown on the right and the new LED bulb is shown on the left.

Here is a shot of the bulb installed in the projector.

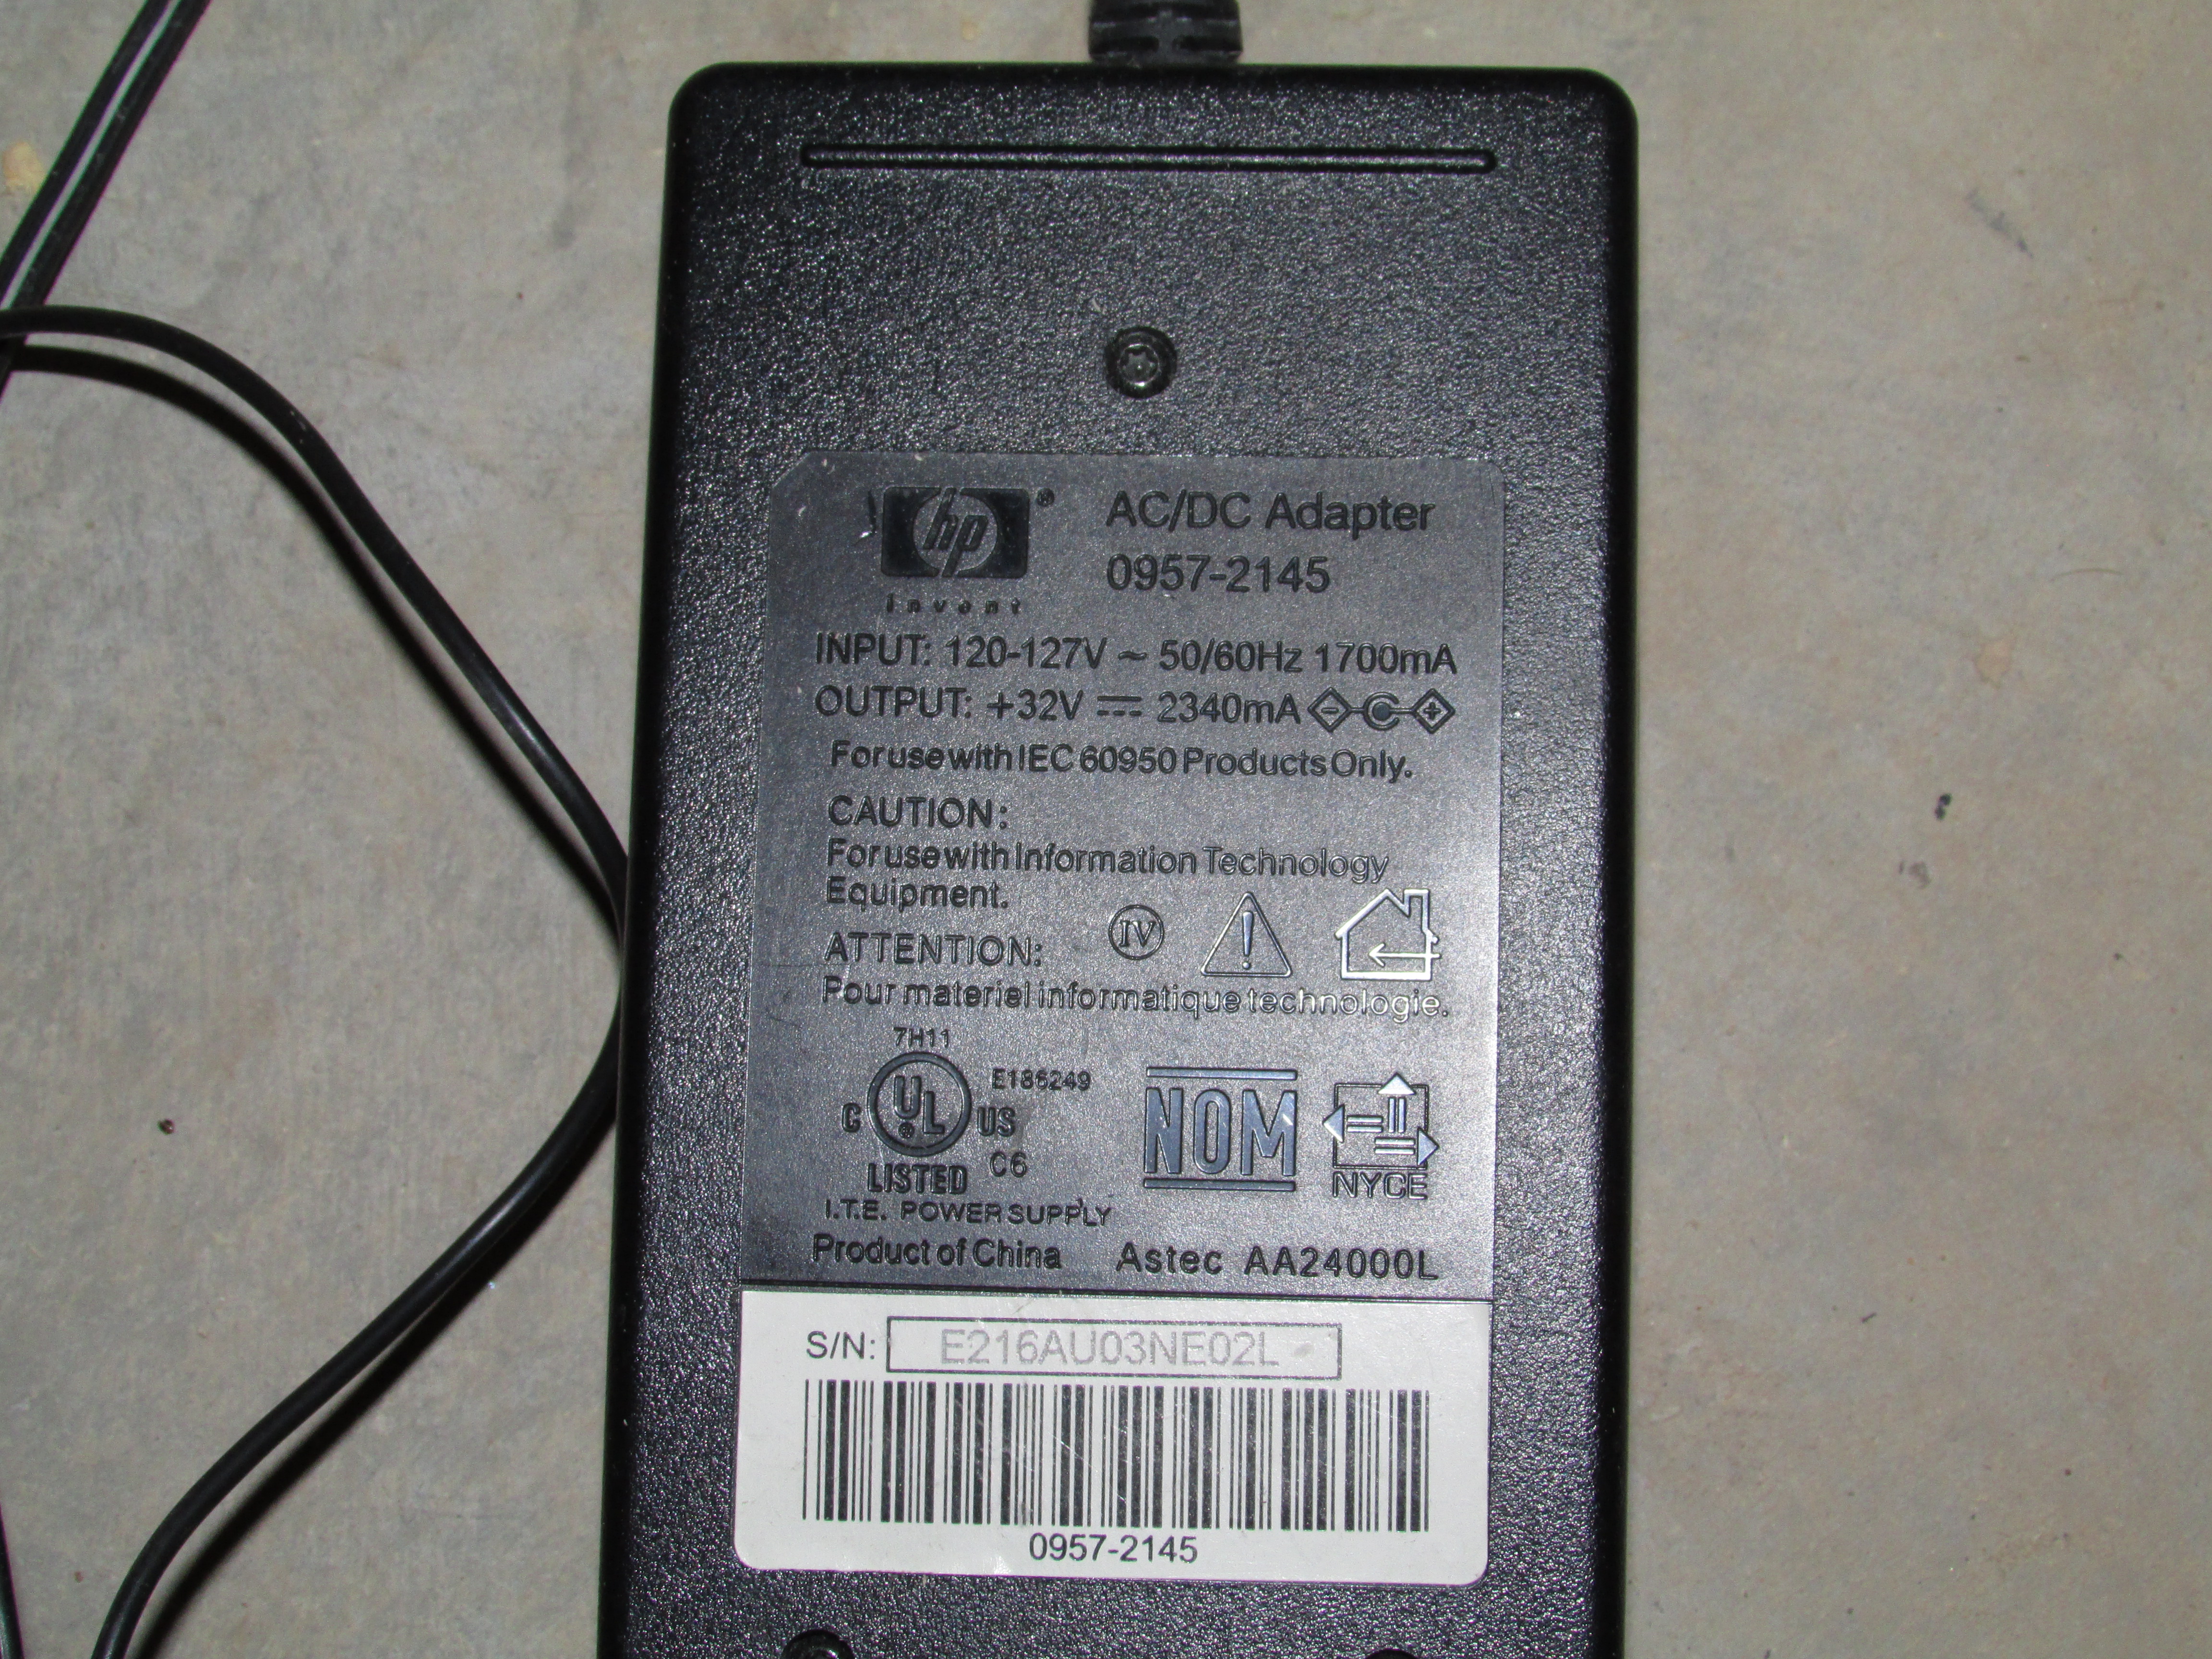
The bulb is powered by a HP power brick most likely from a printer also from the E-Waste recycler. The Brick sources enough current to make the projector visible while keeping the LED well below its rated max current. Low current and the heat sink keeps the LED cool while running the projector for long periods of time. A good Future improvement for this project would be to shoehorn the power brick into the projector case. This could be accomplished by removing the old lamp driver PCB and putting the power adapter in its place. Taking a shot of the projector working proved difficult so it was omitted from this post. Overall this was a simple project with a usable result. The projector currently has a Raspberry Pi running OSMC to it.